How to record a drum kit in a small untreated room without it sounding boxy

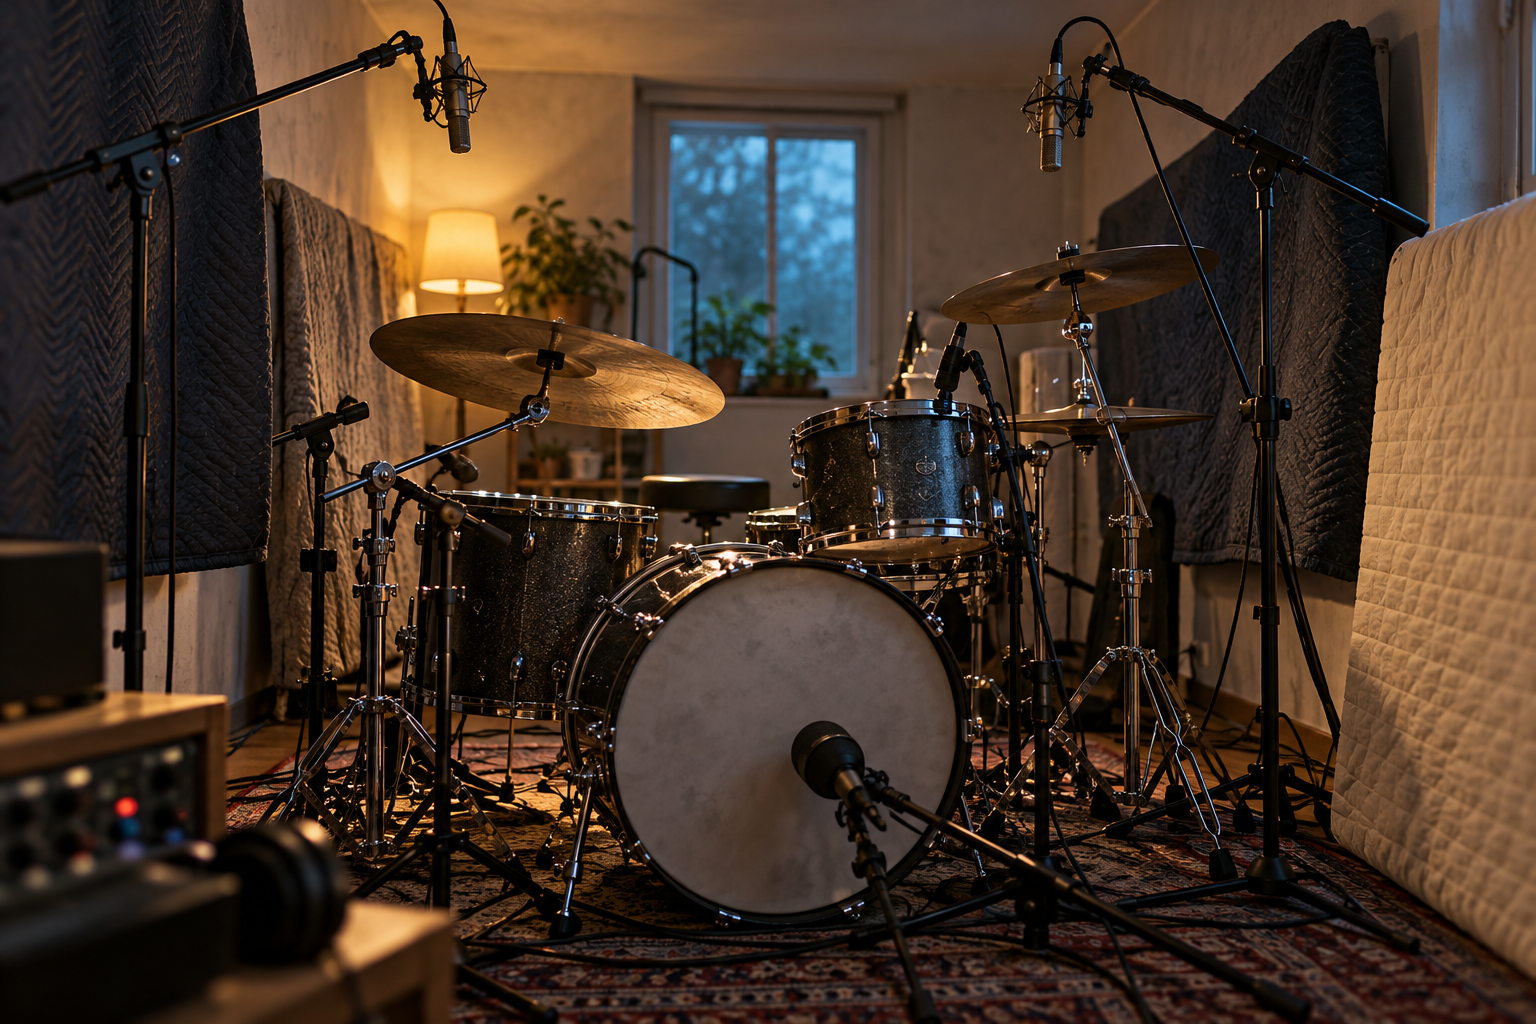
The first time I recorded drums in my own room, I thought the kit sounded fine. Then I played it back in the car and heard a cardboard box with cymbals on top. That boxy thing was not the drummer. It was the room.
A small untreated room is not a death sentence for drum tracking. It just forces you to work differently than the big-room tutorials assume. Here is what has actually worked in sessions here at the studio, and what I had to stop doing.
Figure out what your room is doing before you touch a mic
Walk into the room and clap once, hard. Then listen.
If you hear a fast flutter, usually a metallic little buzz between parallel walls, that is your first enemy. If the clap comes back with a low hmmm, you have a modal buildup in the low mids. If it rings for a second or more, the room is livelier than it looks and every mic will hear it.
Boxy lives in roughly the 150 to 500 Hz region, and small square-ish rooms pile energy up there. You cannot EQ it out of the close mics after the fact, because the attack and the box are happening at the same instant. Fix it before the tape rolls (or the disk fills).
Move the kit before you buy anything
Placement is free and it is the biggest lever you have.
Get the kit off the dead center of the room. Centered in a small room usually means sitting in the worst modal pileup. Nudge it toward a corner, but not into one. I have found that a third of the way along the long wall, kit facing into the room, opens up the low end more than any plugin ever will.
Keep the drums off the floor if the floor is a suspended wood deck that booms. A thick rug under the kick and toms kills a lot of the thump that turns into mud. Cards on the table: a rug will dull the kit slightly. That is the trade I take most days.
Aim the kit so the back wall is behind the drummer, not facing the overheads. The less reflective surface the overheads point into, the less room you capture.
Mic choices that reject the room
This is where a dynamic mic earns its keep in an untreated space. The tighter polar pattern rejects more of the reflections bouncing off the wall behind the mic, and less room in the recording is usually worth more than more detail. For vocals in a home room I reach for a dynamic for exactly this reason, and the same logic applies to every drum mic that is not the overheads.
What I actually put up:
- Kick: a cardioid dynamic tight to the front head, or inside a ported head. Low and pointing slightly off axis to avoid the clicky beater slap.
- Snare: a dynamic on top, and if the room allows, one underneath for the wires. Keep the top mic close enough that the room contribution is small.
- Toms: clips or dynamics close. In a small room, close is your friend.
- Overheads: here is where I usually break the rule. A pair of small-diaphragm condensers in a tight XY or ORTF up close over the kit, rather than wide spaced pairs that drag the whole room into the picture.
Ribbon mics are tempting for their smooth top end, but many are figure-8 and will hear the wall behind them. In a boxy room that rear lobe is a liability.
Kill the first reflections, not the room
You do not need a fully treated room to record drums. You need to tame the surfaces the mics actually hear.
Hang a thick moving blanket or a packing quilt behind the drummer and on the wall the overheads face. Not foam, which mostly eats the high end and leaves the box untouched. Mass is what absorbs the low mids. Even a couple of heavy blankets and a bookshelf can change the character of the room more than the price suggests.
Treat the ceiling too. Small rooms with low ceilings bounce the overheads straight back down, and that is often the boxiest reflection of all.
Use the room as a tool instead of fighting it
Here is the part most people miss. If your room is going to color the drums anyway, you can either subtract the room entirely with close mics, or you can gate the room into something useful.
The classic gated reverb trick exists for rooms like yours. You set up close mics to grab the hit, and ambience mics to grab the reflected sound. Then you gate the ambience so only the first half second of it passes through after each drum hit, before the gate shuts again. The short window lets you hear the room as a deliberate clap of space rather than a box you cannot escape. In a small room, with the gate hold short and the release fast, you can turn a liability into a snare that sounds like it was recorded somewhere bigger than it was.
You can run this in the hardware reverb and noise gate world, or with a gated reverb plugin. Either works. The key is that the close mic triggers the gate and the ambience mic provides the room sound, so the gate opens only on the hits that need it.
When close mics are not enough
Some small rooms just have a dead, choked top end no placement will rescue. That is when a plain room sample or a reverb with a short decay, weighted toward the midrange, can glue a kit back together. Use it subtly. If the reference is a large studio, you will not get there, and that is fine. The drummer and the song do not know what the room costs.
A touch of saturation on the drum bus also helps, because it adds harmonics that the ear reads as presence even when the room is eating the high frequencies.
The verdict
Recording drums in a small untreated room is not about chasing a big-room sound. It is about deciding what the room does well and getting the rest out of the way. Move the kit, close-mic the kit, treat the reflections, and use the room deliberately instead of letting it ambush the mix. Do that, and the boxy thing in the car will not be there.