Four mics that keep earning their place on every session

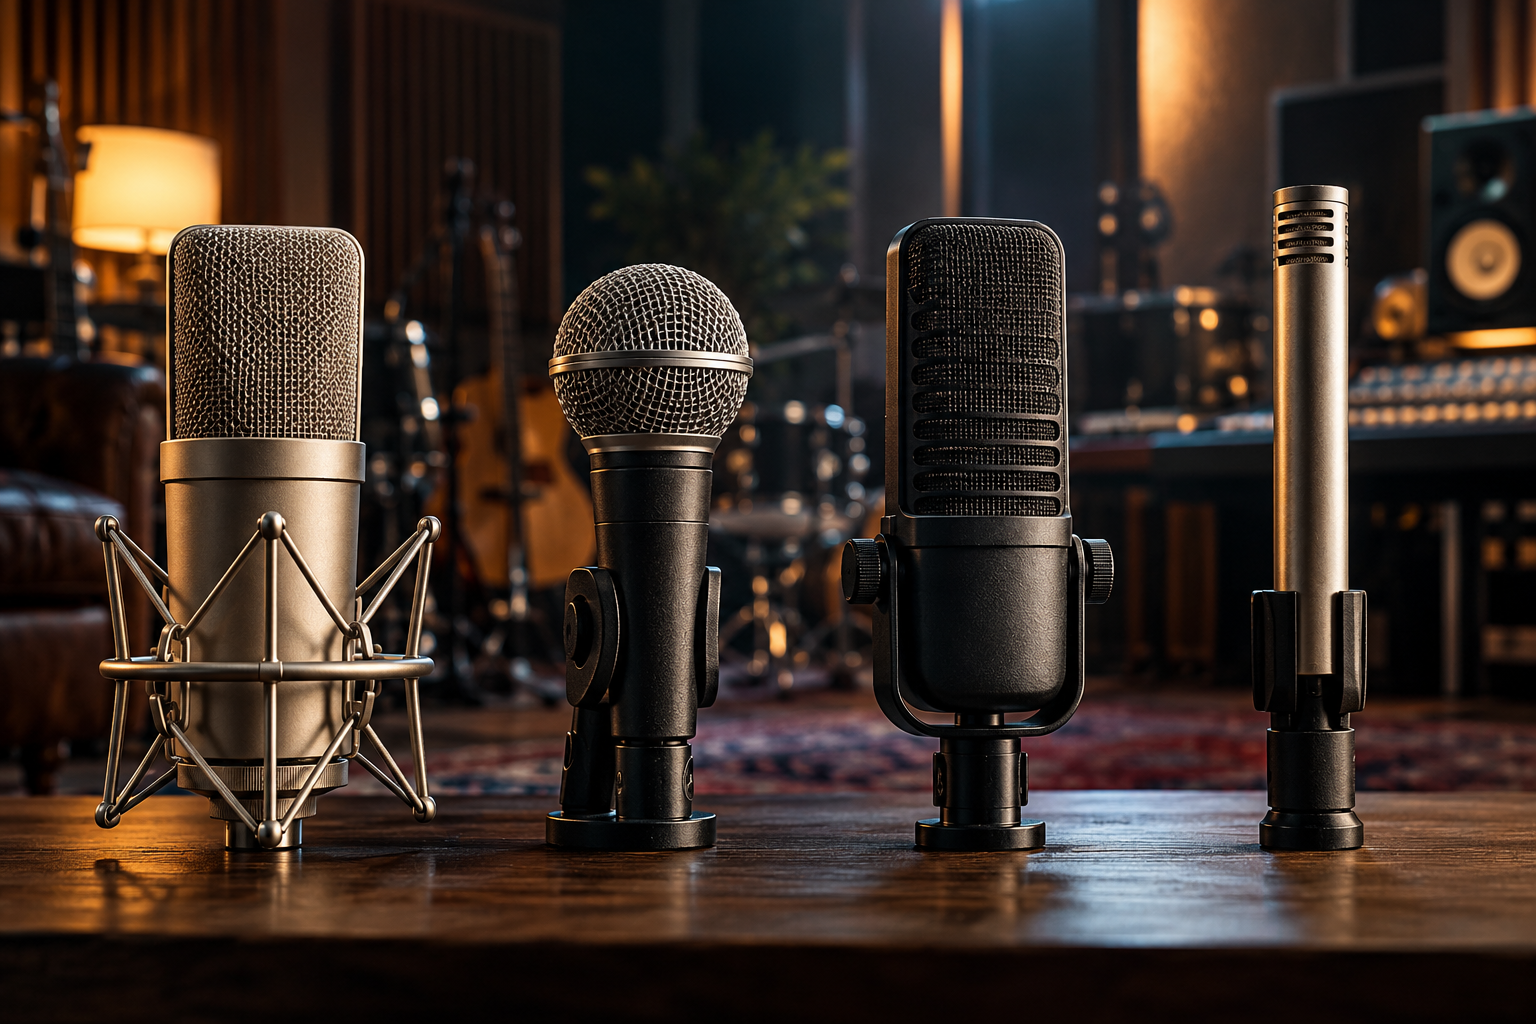
There are four mics on the shelf by the door that never get put away between sessions. Two of them are on loan more often than I’d like. The other two I bought used, one of them before I had a proper room. When a friend asks what to buy first, I don’t recite specs. I tell them to think about contrast, and I point at those four.
The best advice I’ve heard on this comes from the mixing side of the glass. Mix engineers will tell you most people shortlist five condensers from five brands and call it “options.” It isn’t. What you actually want is character variety: one clean, detailed condenser, one rugged dynamic, one dark ribbon, and something bright with real air up top. You want to hear how your voice reacts to different personalities, not different logos.
Why mics beat everything else in the chain
Here’s the thing I keep repeating to self-recording songwriters. A $500 mic into a $100 interface will usually sound better than a $100 mic into a $500 interface. Spend the money where the sound is actually captured. Cables, preamps, plugins, the computer: all downstream. The mic is the source.
And you can’t fix a bad one later. Some mics crumble the moment you start stacking layers and compressing. Others shine. You’ll only really hear which is which once the track is in the mix, EQ’d and squashed and sitting next to five other parts. That’s the honest test.
So here are the four. They’re not a buying guide. They’re the ones I reach for.
1. A clean, detailed condenser
This is the workhorse. On acoustic guitar it gives you the string detail without getting brittle. On a lead vocal it sits forward in a way that stacks cleanly into doubles and harmonies.
What I love about a good detailed condenser is that it tells the truth. If the performance is slightly flat, you’ll hear it. That’s a feature, not a bug. On a session last winter I tracked a fingerpicked part with mine at about 30cm from the twelfth fret, peaks around -6dB, and it needed almost no EQ to sit under the vocal. It also revealed a squeaky A string the player fixed on the next take. Unflattering, useful.
The trade-off: detail means it hears your room. If your space is untreated, that same clarity picks up every early reflection. Fix the room first. A great mic in a bad room is a great mic recording a bad room.
2. A rugged dynamic
Mine lives on the snare most days, but it’s the one I’d grab in a fire. It’s warm, forgiving, and it never sounds wrong, just less shiny than a condenser.
Dynamics earn their place on loud, messy sources: a close snare with the transient under control, a guitar cab you’re not going to fight with EQ later. The character is midrange-forward and a little compressed-sounding on its own, which is exactly why it flatters a voice that’s already bright. It tames things by nature.
It’s also the mic I hand to a nervous first-timer. Point it, set gain, press record. Nobody has to think about it.
3. A dark ribbon
This is the one people sleep on, and the one that saved a bright acoustic guitar from sounding like a bright acoustic guitar.
A ribbon gives you that dark, vintage weight in the low mids. On a strident dreadnought or a singer with a hard edge at 3kHz, it rounds things off before any EQ. You’re capturing the tone you want instead of fixing it later. On a recent overdub I put the ribbon on an acoustic rhythm part and the part instantly sat underneath the vocal instead of competing with it.
The trade-off is real: ribbons are darker and need more gain, and you have to be careful with phantom power on some models. But when a source is too bright, a ribbon is the fastest honest fix I know.
4. Something bright with air
The fourth slot is the bright one. Where the ribbon tames, this one adds the air that makes a doubled vocal sparkle and a room mic feel open. It’s the opposite of subtle, which is why it’s not on everything, but on the right source it’s the difference between a part that sits and a part that breathes.
I use it sparingly. Maybe a single harmony line, maybe a strummed acoustic to give a chorus lift. Used everywhere it gets harsh fast. Used once per song it’s a spice, not a base.
How to actually hear the difference
You don’t need a rack of mics to test this. You need about an hour and a plan.
Book a few different studios and request the specific mics in advance, or rent a couple and try them at home if your room is decent. Spend 10 to 15 minutes per mic. Record the same phrase on each, then do the thing most people skip: record a realistic demo. That means a pop filter 30cm out, gain staged so peaks don’t go above -6dB, and about 20 seconds of actual material: your lead vocal for the chorus, two doubles, two harmonies. Layered. That’s the setup that reveals how a mic handles stacking and dynamics, not just how it sounds alone.
Then send those takes to the same mixing session. This is the part that changes minds. A raw vocal can sound perfectly fine on its own and then fall apart once you EQ and compress it. Some mics crumble during processing. Others shine. You only hear the truth in the mix.
If you want outside ears, a mix engineer can review your samples and tell you which mic works best for your specific voice. I’ve done this for clients and it’s blunt but kind: “the bright one is fighting you, the dark one is doing the work.”
The two that stay out
The condenser and the dynamic are the ones I’d replace first if they broke. The ribbon and the bright one are specialists, and specialists are exactly what a small room needs to get variety out of a limited palette.
You’ll probably buy a good mic once. That’s the other reason not to shortlist five of the same thing. Build contrast into the shelf. Then leave the good ones out. They’ve earned it.